Chocolate Covered Strawberry Bunnies – Easy Easter Dessert
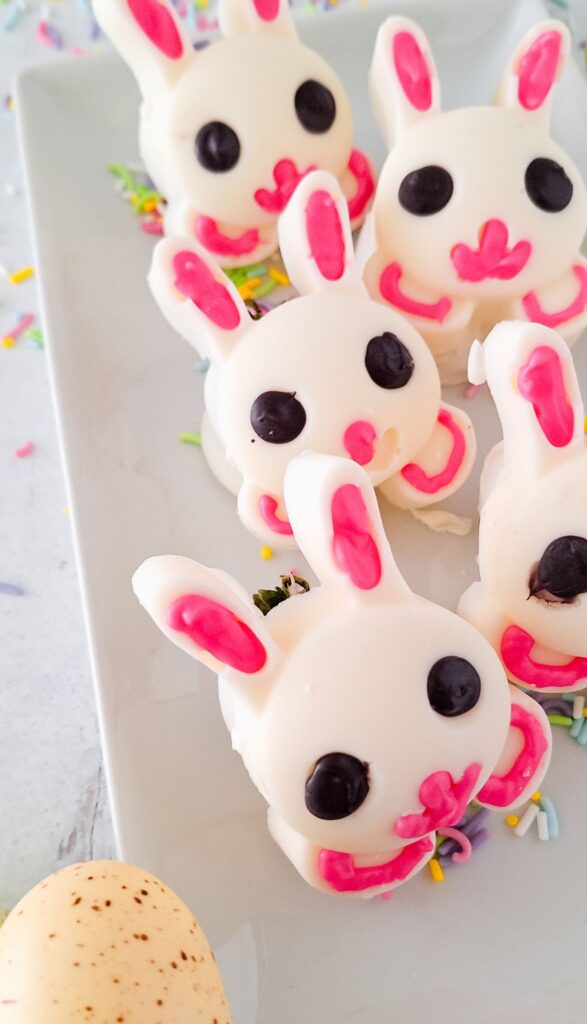
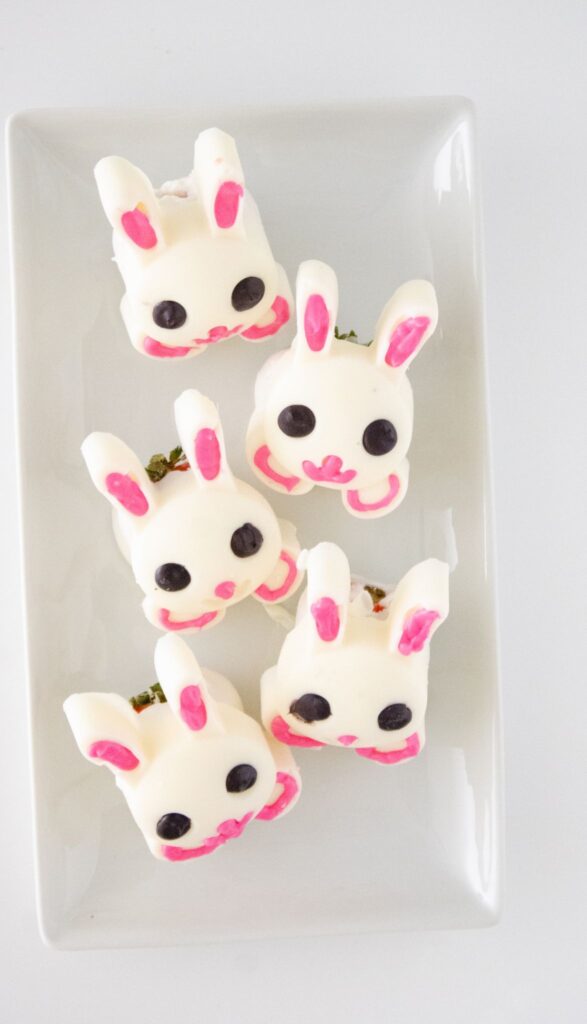
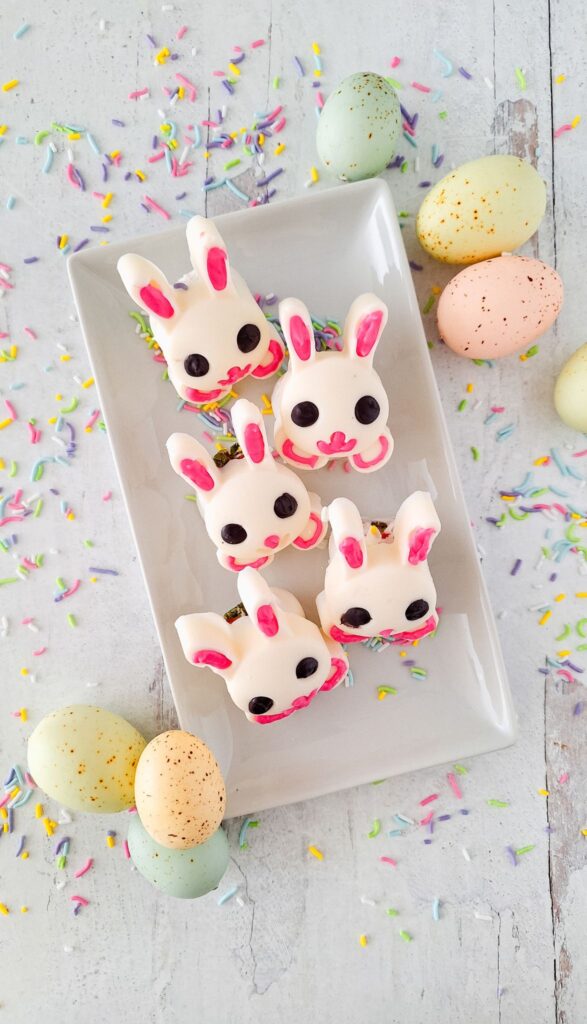
These Chocolate Covered Strawberry Bunnies are not only cute, they're an easy Easter dessert. Looking for an adorable and delicious Easter treat? These Chocolate Covered Strawberry Bunnies are the perfect combination of juicy strawberries and rich chocolate, shaped into the cutest bunny faces!
Whether you’re preparing a festive dessert for an Easter gathering, a spring party, or just want a creative sweet snack, these Chocolate Covered Strawberry Bunnies will impress everyone.
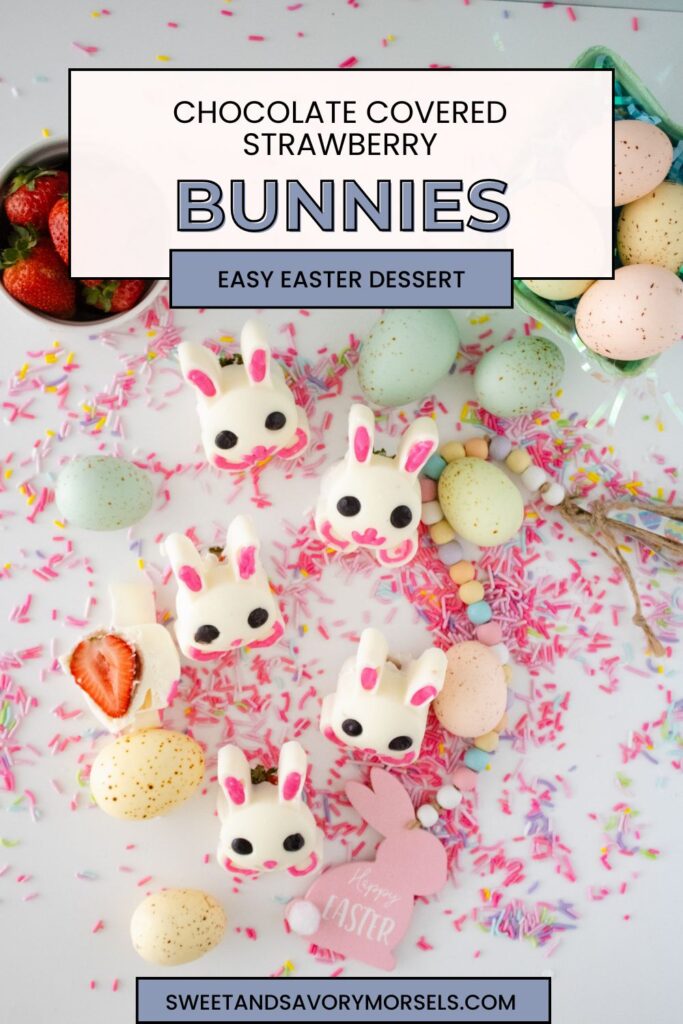
These Chocolate Covered Strawberry Bunnies are easy to make, require no baking, and are a fun activity for kids and adults alike. Follow this simple step-by-step guide to create the ultimate Easter treat!
Why You'll Love Chocolate Covered Strawberry Bunnies
- Adorable & Festive – These Chocolate Covered Strawberry Bunny Strawberries make the perfect Easter or springtime treat!
- Easy to Make – With simple ingredients and minimal prep, they’re a fun and stress-free dessert.
- No-Bake Dessert – No oven required! Just melt, dip, decorate, and enjoy.
- Kid-Friendly Activity – A great way to get kids involved in the kitchen with dipping and decorating.
- Customizable – Use different chocolates, colors, and decorations to make them your own.
- Perfect for Gifting – Package them in a cute box or bag for a homemade Easter gift.
- Delicious & Fresh – The combination of sweet chocolate and juicy strawberries is always a hit!
Ingredients You'll Need
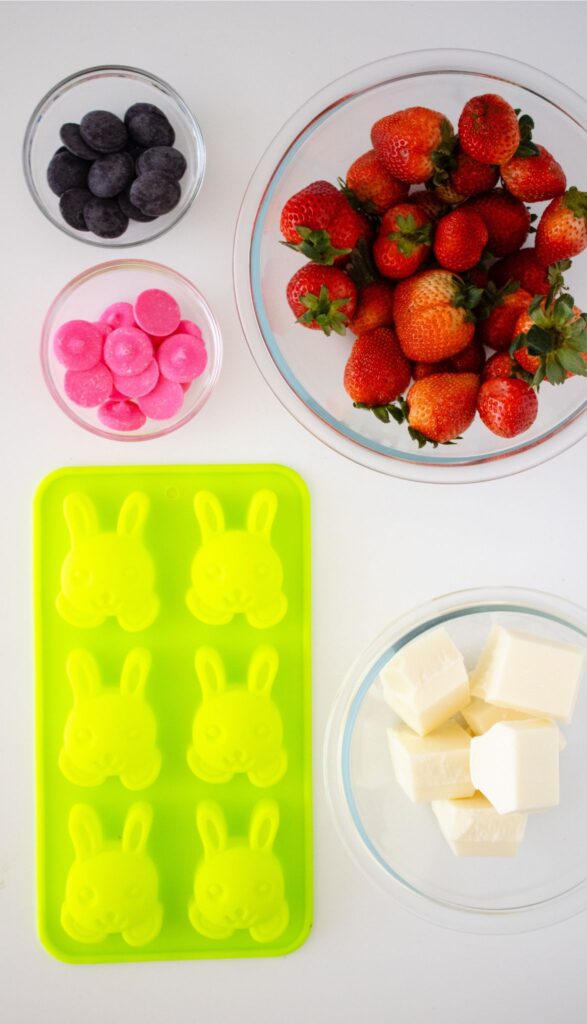
To make these easy Chocolate Strawberry Bunnies, gather these simple ingredients.
- Ghiradelli melting wafers, almond bark or candy melts
- Fresh strawberries, washed and patted dry
- Pink candy melts
- Black candy melts
Equipment Needed
How to Make Chocolate Covered Strawberry Bunnies
Step 1:
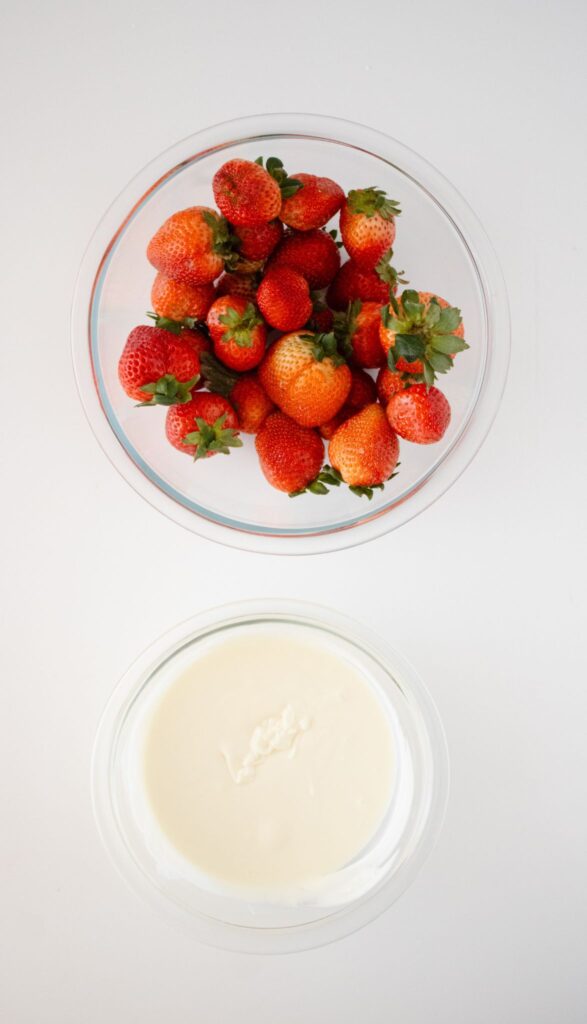
Melt the chocolate in 30-second increments, stirring after each 30 second increment.
Step 2:
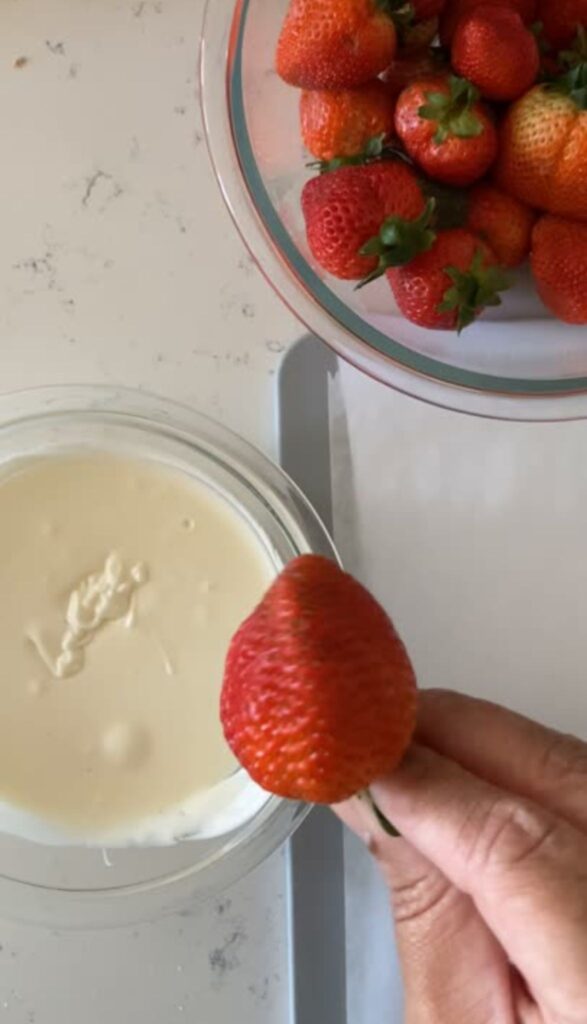
Once the chocolate is smooth, dip in the strawberries.
Step 3:
An easy way to dip the berries is by using a skewer or toothpick.
Tap off excess chocolate.
Step 4:
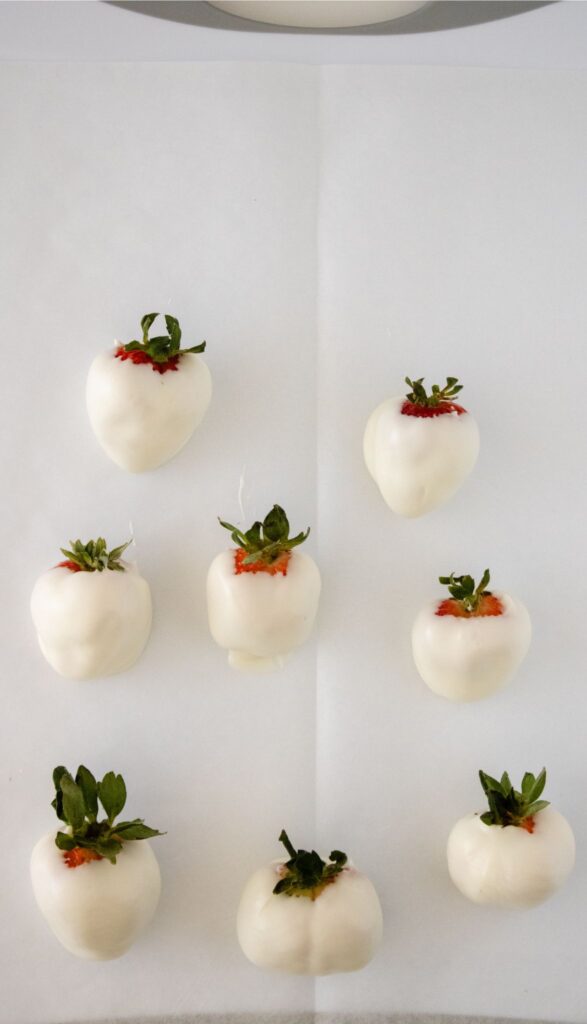
Place on parchment to set about 10-15 minutes.
Step 5:
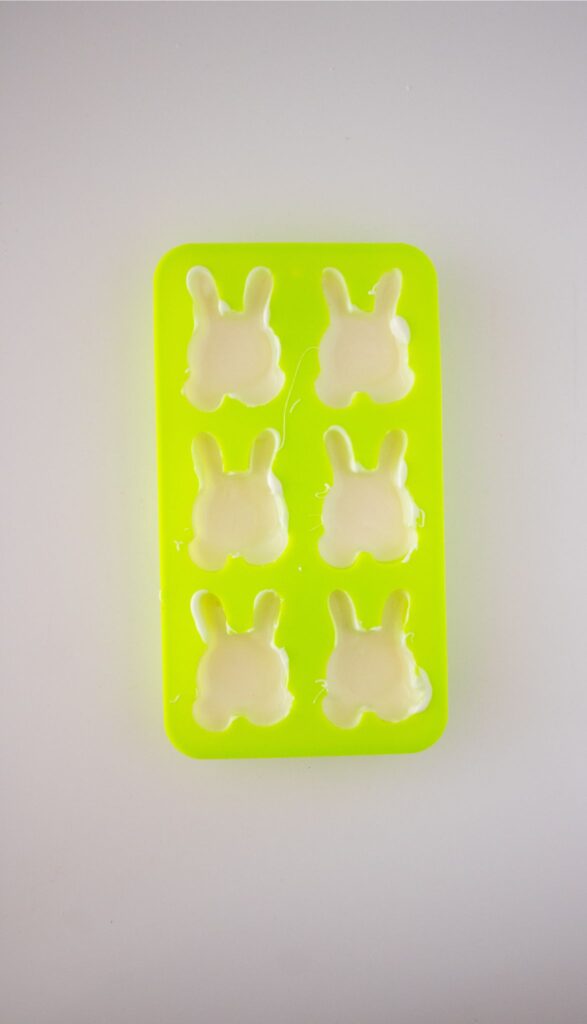
Pour excess chocolate into the molds.
Step 6:
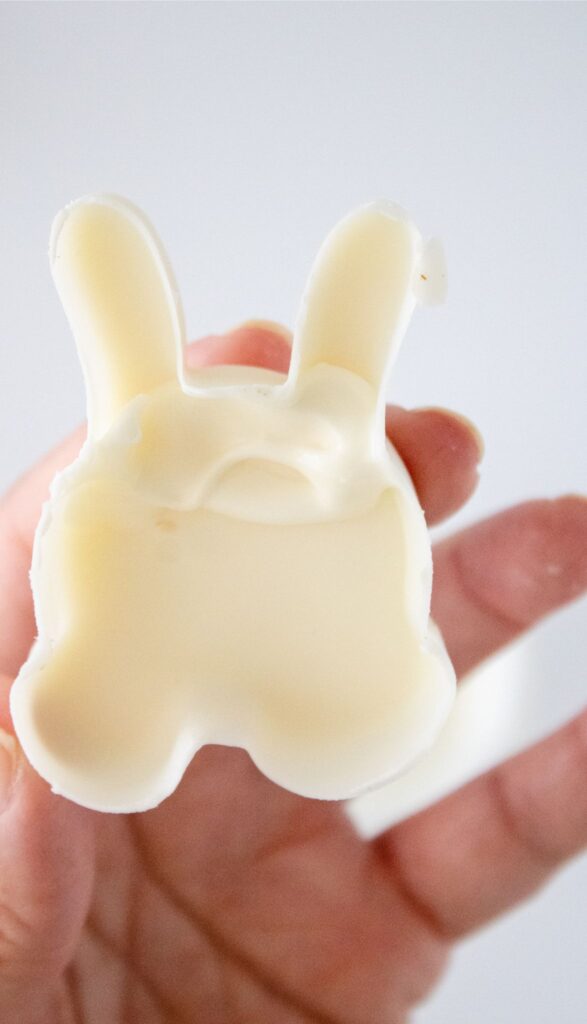
Make sure to cover the sides and pop in the freezer for 5 minutes.
Step 7:
Carefully unmold the face.
Step 8:
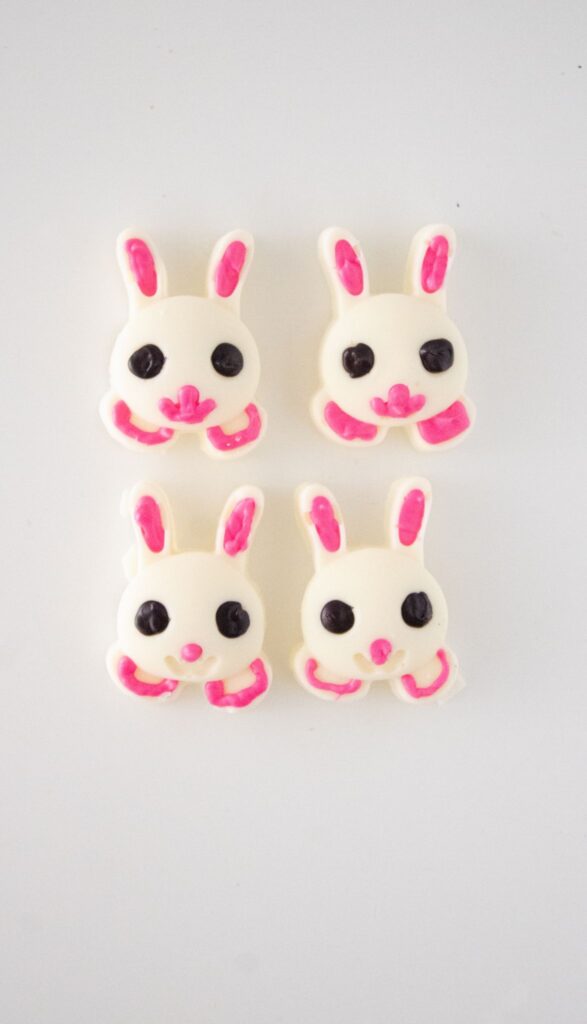
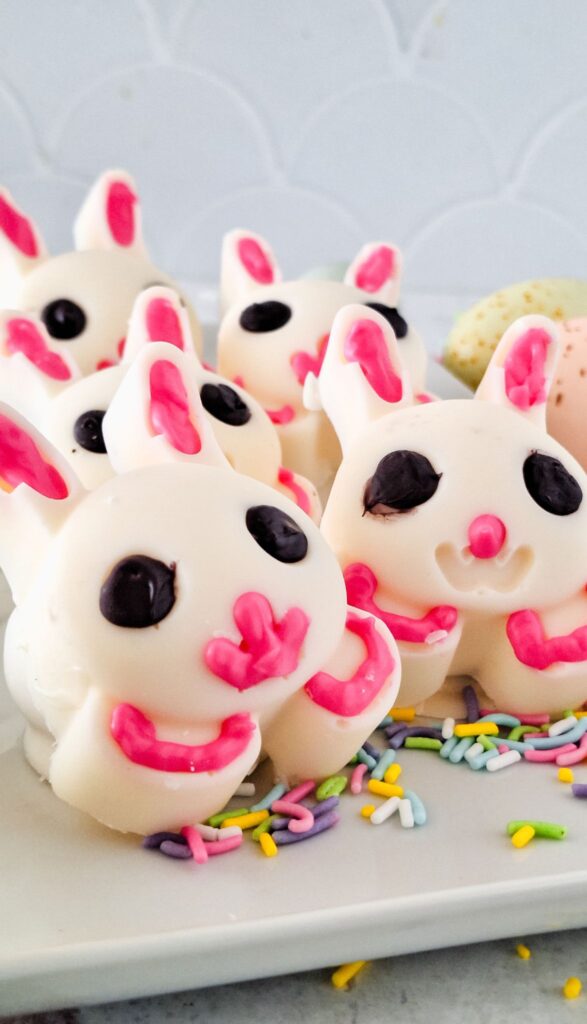
Melt a little pink and outline the nose and mouth.
Step 9:
Use black candy melts to do the eyes.
Step 10:
Once set, add a little chocolate to the strawberry and adhere the chocolate bunny face.
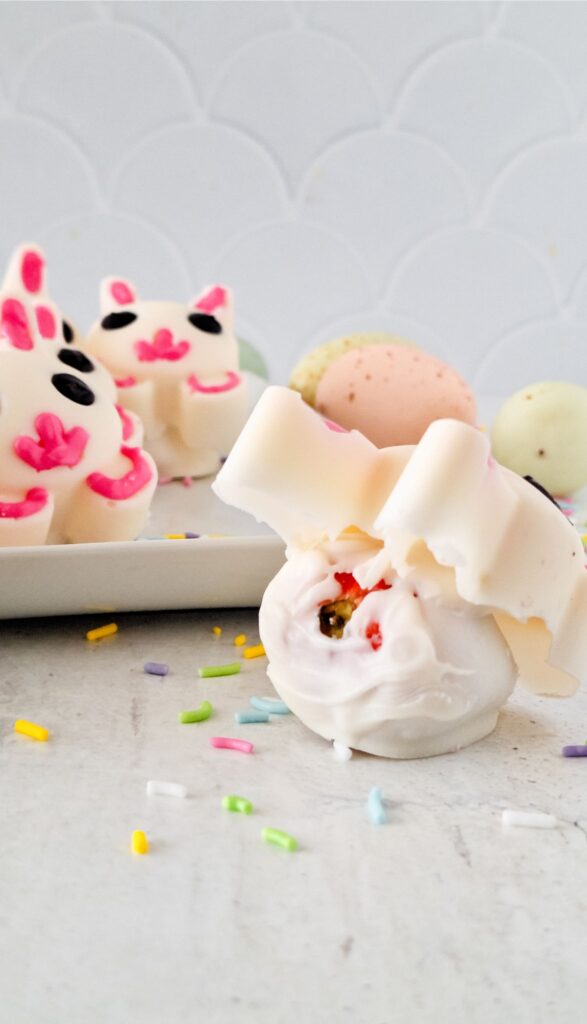
Let sit 5 mins or until dry.
Tips and Tricks for Chocolate Covered Strawberry Bunnies
- Use Room-Temperature Strawberries
Cold strawberries can cause the chocolate to seize or develop condensation, making it harder for the chocolate to stick. - Pat Strawberries Completely Dry
Any moisture on the strawberries will prevent the chocolate from adhering properly. - Thin Out Thick Chocolate
If your chocolate is too thick, add a small amount of coconut oil or vegetable shortening to achieve a smooth consistency. - Use Skewers or Toothpicks for Dipping
This makes it easier to coat the strawberries evenly and prevents messy fingers. - Tap Off Excess Chocolate
After dipping, gently tap the skewer or toothpick against the bowl to remove excess chocolate and avoid thick drips. - Chill Bunny Faces for Easy Removal
Freezing the chocolate in the molds for at least 5 minutes makes it easier to unmold without breaking. - Cut Molds into Smaller Sections
Cutting a 6-pack mold into 1 or 2 connected pieces reduces stress on the chocolate, helping prevent cracks. - Use Melted Chocolate as ‘Glue’
To attach the bunny face to the strawberry, apply a small amount of melted chocolate and hold for a few seconds before letting it set. - Be Patient with Detailing
Let the bunny faces fully set before piping the facial features to prevent smudging. - Piping Bag Alternative
If you don’t have a piping bag, use a small ziplock bag with a tiny corner snipped off for precise piping. - Make Ahead & Store Properly
These treats can be made a day in advance and stored in an airtight container in the fridge. Avoid humid environments to prevent chocolate from softening.
Recipe Variations and Substitutions
These variations let you customize the Chocolate Covered Strawberry Bunnies to fit different tastes and dietary needs!
Chocolate Variations:
- Milk Chocolate – Use for a sweeter, creamier flavor.
- Dark Chocolate – A richer, slightly less sweet option.
- White Chocolate – Great for an all-white bunny look or pastel-colored designs.
- Flavored Melts – Try strawberry, caramel, or even mint-flavored candy melts for a fun twist.
Strawberry Alternatives:
- Marshmallows – A non-fruit option that still pairs well with chocolate bunny faces.
Mold Substitutions:
- No Bunny Mold? – Use a round silicone mold or simply pipe bunny faces onto parchment paper and let them harden before attaching.
- Flat Chocolate Discs – Instead of molds, make simple chocolate medallions and decorate them with bunny faces.
Decorating Variations:
- Colorful Bunny Faces – Use pastel-colored candy melts (pink, blue, yellow) for different bunny looks.
- Sprinkles & Edible Glitter – Add some sparkle for a festive touch.
- Candy Eyes – Instead of piping, use pre-made candy eyes for easy decorating.
Healthier Substitutions:
- Dark Chocolate with No Added Sugar – A lower-sugar option with antioxidants.
- Dairy-Free Chocolate – Use vegan-friendly chocolate chips or dairy-free candy melts.
- Natural Food Coloring – If coloring is needed, use natural fruit powders or plant-based food coloring.
Flavor Enhancements:
- Nutty Crunch – Sprinkle finely chopped nuts (almonds, hazelnuts) onto the chocolate before it sets.
- Coconut-Coated – Roll the chocolate-covered strawberries in shredded coconut for a tropical twist.
- Sea Salt Sprinkle – A touch of flaky sea salt enhances the chocolate’s flavor.
Frequently Asked Questions
- Can I use different types of chocolate?
Yes! You can use Ghirardelli melting wafers, almond bark, or candy melts. - Why is my chocolate too thick for dipping?
You can add a small amount of coconut oil or vegetable shortening to thin it out. - How do I keep the chocolate from cracking when unmolding?
Cut the molds into smaller sections (1-2 connected) before using them. This reduces stress on the chocolate when removing the bunny faces. - Do I need to refrigerate the strawberries before dipping?
No, use room-temperature strawberries to prevent condensation, which can cause the chocolate to not stick properly. - Can I make these ahead of time?
Yes! You can prepare them a day in advance. Store in an airtight container in the fridge. - What’s the best way to adhere the bunny face to the strawberry?
Use a small amount of melted chocolate as “glue” and let it set for at least 5 minutes. - Can I use white chocolate for the bunny face?
Absolutely! White chocolate or colored candy melts work great for different bunny looks.
Chocolate Covered Strawberry Bunnies
Chocolate Covered Strawberry Bunnies
Equipment
- Parchment Paper
- Microwave Safe Bowls
- Piping bags
- Bunny Mold
Ingredients
- Ghiradelli melting wafers almond bark or candy melts
- Fresh strawberries washed and patted dry
- Pink candy melts
- Black candy melts
Instructions
- Melt the chocolate in 30-second increments, stirring after each.
- Once the chocolate is smooth, dip in the strawberries.
- An easy way to dip the berries is by using a skewer or toothpick.
- Tap off excess chocolate.
- Place on parchment to set about 10-15 minutes.
- Pour excess chocolate into the molds.
- Make sure to cover the sides and pop in the freezer for 5 minutes.
- Carefully unmold the face.
- Melt a little pink and outlin the nose and mouth.
- Use black candy melts to do the eyes.
- Once set, add a little chocolate to the strawberry and adhere the chocolate bunny face Let sit 5 mins or until dry.


